← All Tutorials
Restore of Proxmox with Iperius Backup
The following tutorial shows the simple steps to restore Proxmox virtual machines with Iperius.
See also: How to back up Proxmox virtual machines with Iperius
To configure a restore of a virtual machine in a Proxmox environment, click the appropriate button in the “Restore” menu:

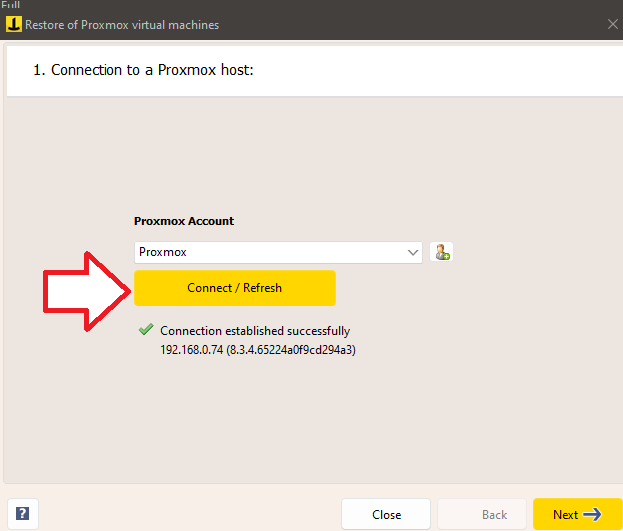
Select a previously configured Proxmox connection account, or create a new account by entering the server address, port, and administrator credentials. Then click “Connect” and then “Next”:
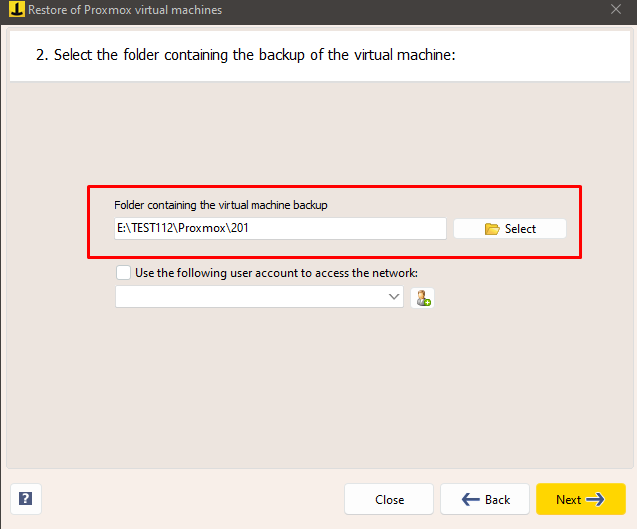
Select the folder containing the Proxmox virtual machine backup and click “Next”:
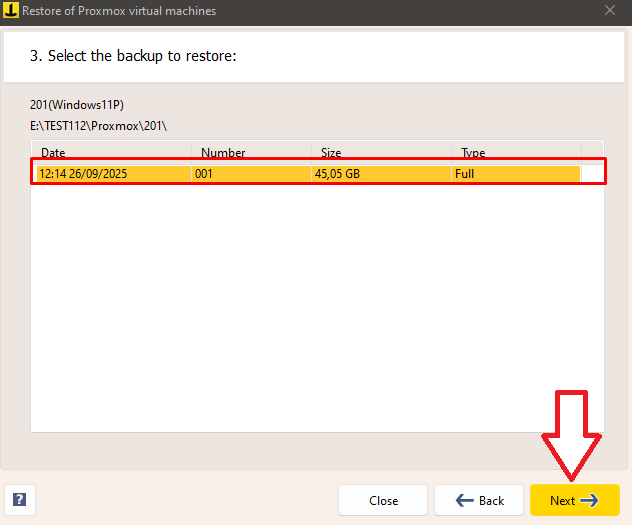
Select the copy to restore:
In the next tab, you’ll need to specify the datastore to which you want to restore: Local-LVM is the primary disk (where only RAW disks can reside), while “Directories” are additional disks (which can host both RAW and QCOW disks).
For each disk in the virtual machine, you can select the destination storage.
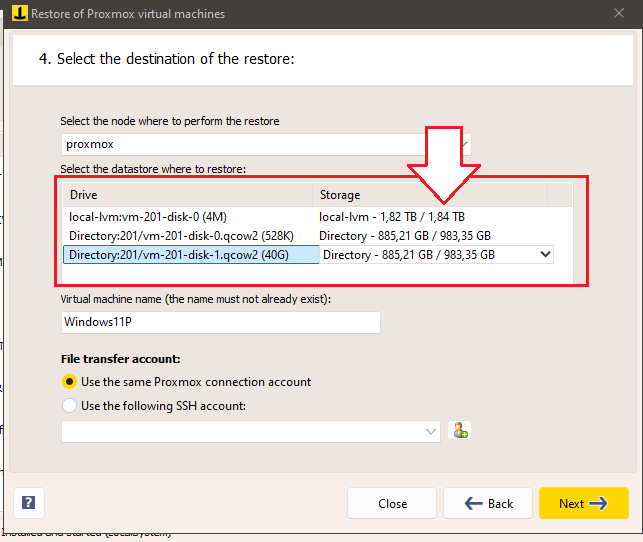
Choose a name for the VM you want to restore and whether to use the same account you use to log in to Proxmox for file transfer, or a specific SSH account.
Then click on “Next”.
Finally, in the Summary, check the settings you have chosen and then click “Perform Restore”:
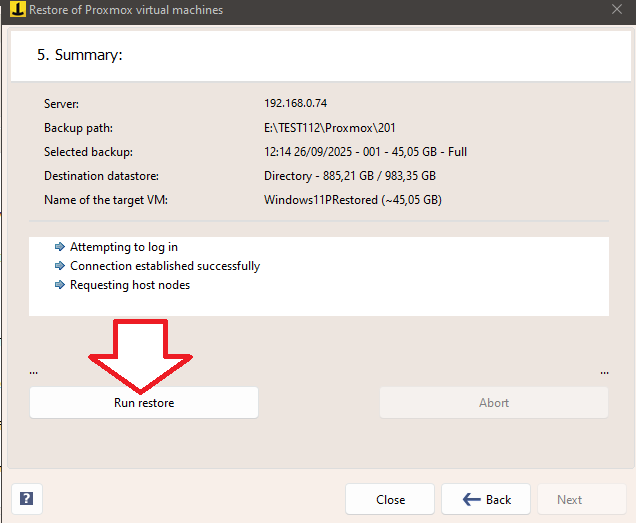
Once the restore is complete, the virtual machine will immediately be visible in the Proxmox management interface.
For any questions or doubts regarding this tutorial,
Contact us