← All Tutorials
BitLocker: How to Enable Hard Drive, SSD, or Partition Encryption and back up it
BitLocker is a disk encryption solution integrated into the Microsoft Windows operating system, starting from Windows Vista. It allows you to encrypt hard drives, removable disks, or partitions, protecting them with a password and making them inaccessible to anyone who does not know the password. It is also possible to configure protection for removable devices like USB flash drives.
There are also third-party alternatives for disk and partition encryption, such as TrueCrypt or VeraCrypt (the latter considered the better successor to the former), which are also free. However, these solutions do not offer the same security and long-term reliability as an integrated tool like BitLocker. BitLocker can protect data even in the event of a computer theft, as the files on the disks cannot be read without the correct password.
There are several methods to enable BitLocker on Windows 10. One of these requires a motherboard with a chip called TPM (Trusted Platform Module) version 1.2. This chip is used to securely store the protection passwords. The security is guaranteed by the fact that the passwords are saved on a physical device separate from the disk itself. Nevertheless, it is possible to enable BitLocker on computers without the TPM v1.2 chip, as we will see later, although this configuration may be less secure than the previous solution.
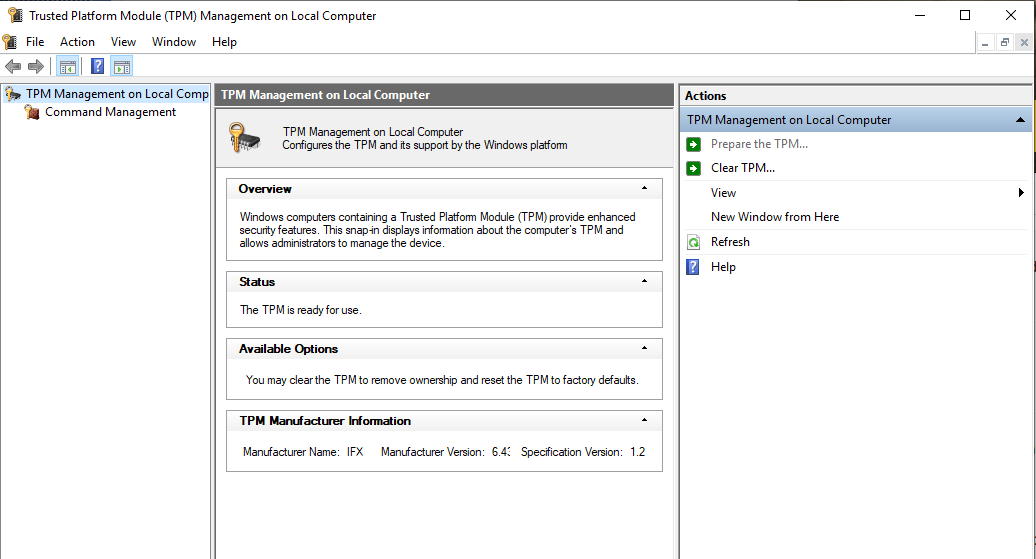
Enable BitLocker to Protect Data on a Partition:
In our example, we show how to enable BitLocker on a disk or one of its partitions, marked with a drive letter. Creating a partition protected by BitLocker is useful for securing specific files or applications. You can create a new partition with any partition management software, or you can do this process on an entire disk (it must be a data disk and not the one where the operating system is installed).
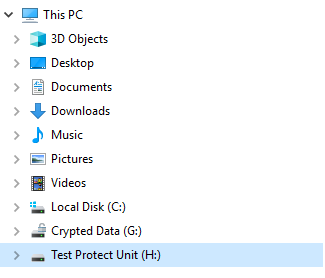
Right-click on the new drive and click “Turn on BitLocker.” A window will appear asking you to select a protection method. In our case, we chose the “Password” option:
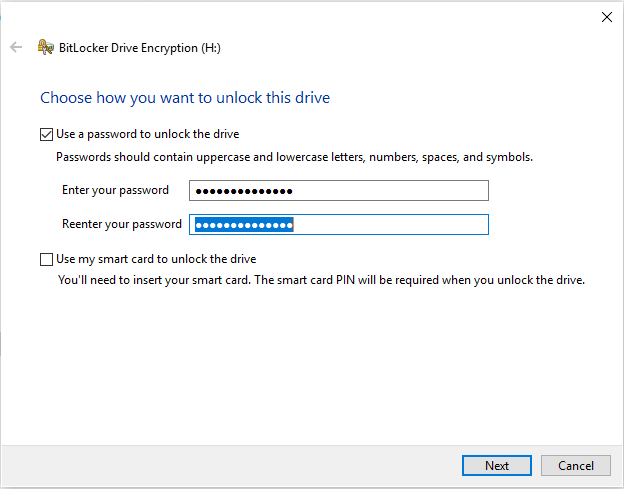
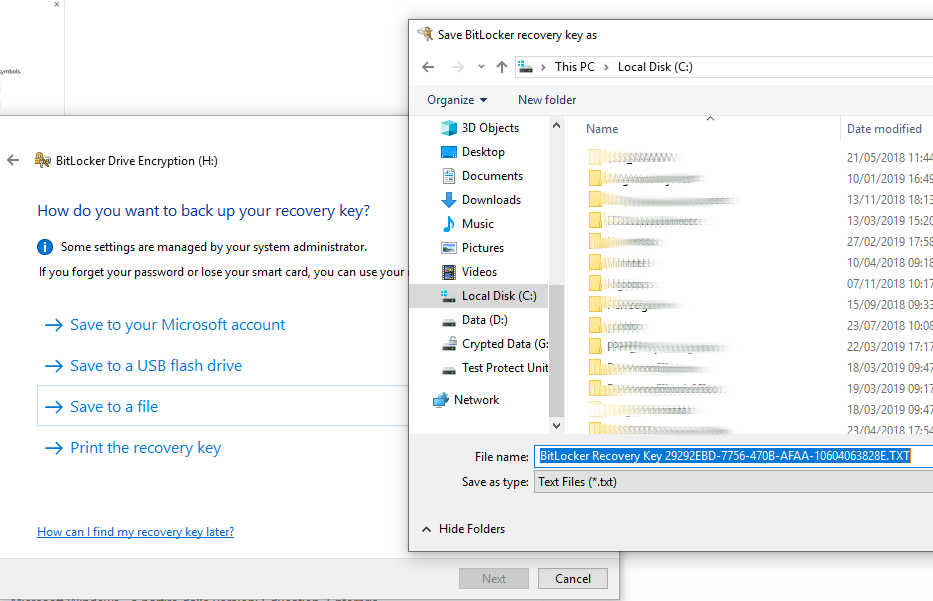
After setting the password and clicking “Next,” BitLocker will ask you to choose a recovery password method.
The recovery/save options include:
- Microsoft Account;
- USB Flash Drive;
- File;
- Print;
In our case, we chose to save the recovery key to a file. For security reasons, the file should be moved to an external device.
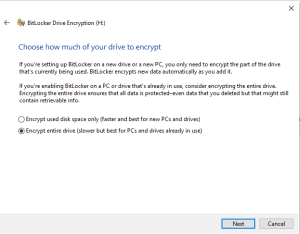
At this point, BitLocker will ask whether to protect the entire drive or just the data. We opt to encrypt the entire disk.
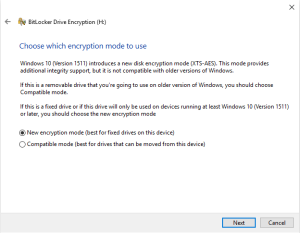
We also choose the “New Encryption” encryption type, then click “Next” and then “Start Encryption.” BitLocker will begin the disk encryption process.
If you choose to encrypt the entire disk, the process will take longer.
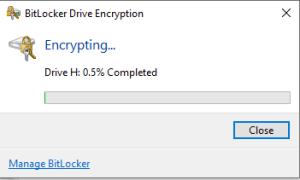
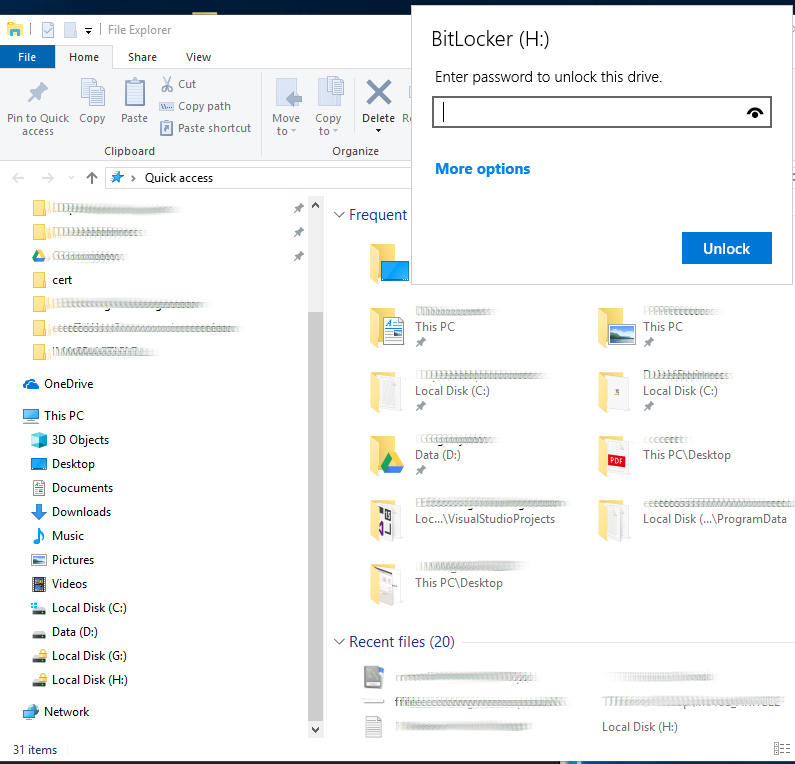
When the encryption is complete, the drive icon will have a yellow lock, indicating that the disk must be unlocked before use.
To unlock it, simply click on the drive and enter the required password.
Use BitLocker on Computers Without a TPM Chip
To use BitLocker on computers without the TPM chip, some system settings must be modified. In this configuration, protection is software-based, and therefore less secure compared to the hardware protection provided by the TPM chip.
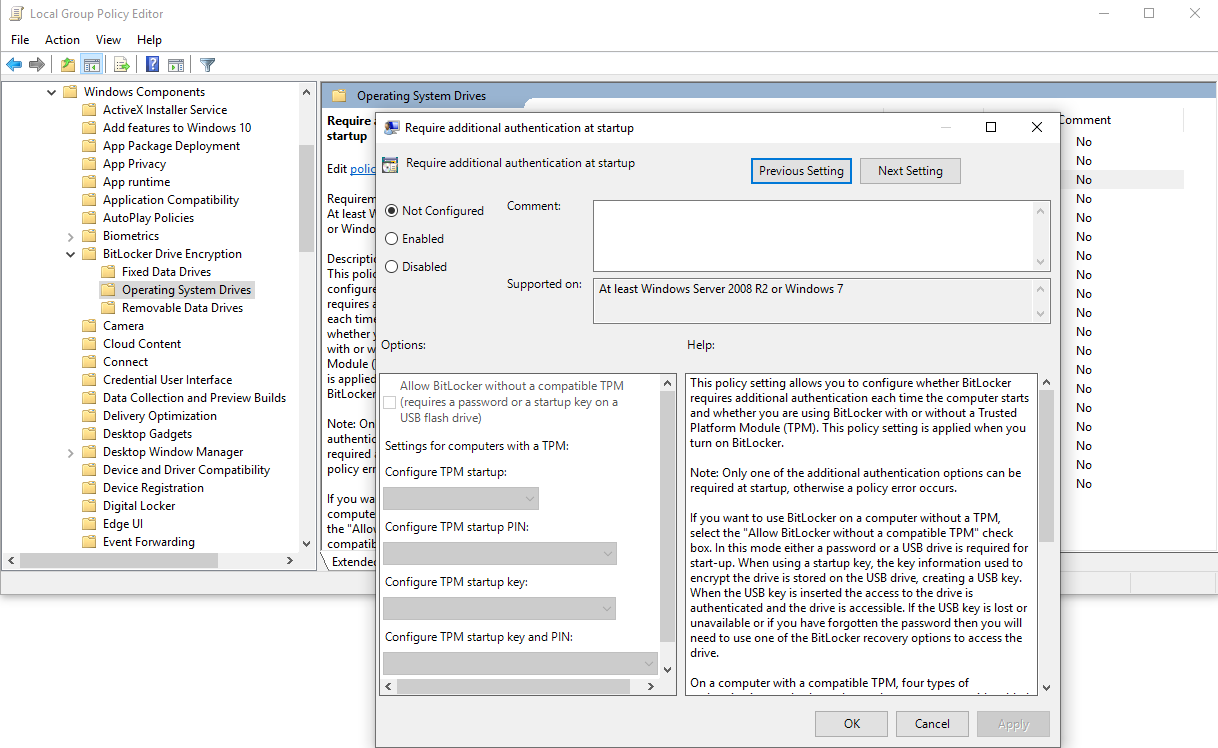
By enabling protection and selecting the option “Allow BitLocker without a compatible TPM,” you can set an access password or save the credentials to a USB flash drive. Access to the data will only be possible by entering the password or USB drive when the PC starts.
Using BitLocker to encrypt disks or partitions is highly recommended to protect sensitive data, both in terms of GDPR compliance and to prevent theft of sensitive information.
Examples of Use:
Protect Remote Desktop Connection Manager (RDCMan) Data with BitLocker
Remote Desktop Connection Manager is a free application developed by Microsoft, very useful for network administrators, that allows you to manage multiple remote connections through a single interface.
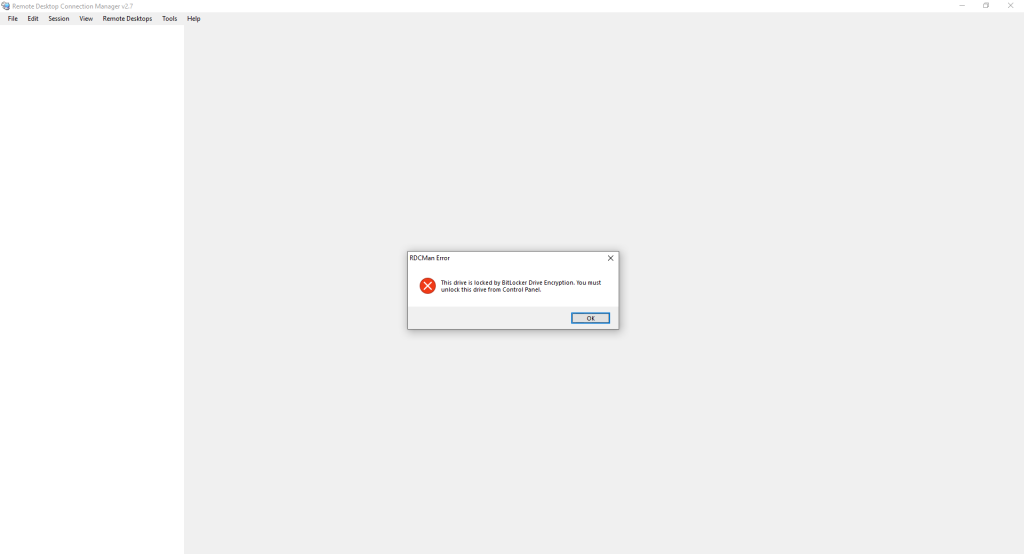
RDCMan allows you to save server groups and related access credentials. However, the files containing the credentials are saved on the disk, and since RDCMan does not support a “Master Password,” an attacker with access to the computer could easily connect to other servers by simply opening RDCMan. Using BitLocker to protect the drive where the RDCMan files are stored is an excellent solution to prevent unauthorized access. Here is the error that occurs when RDCMan tries to access BitLocker-protected files:
Use Iperius for Backup of Folders from Disks Protected by BitLocker:
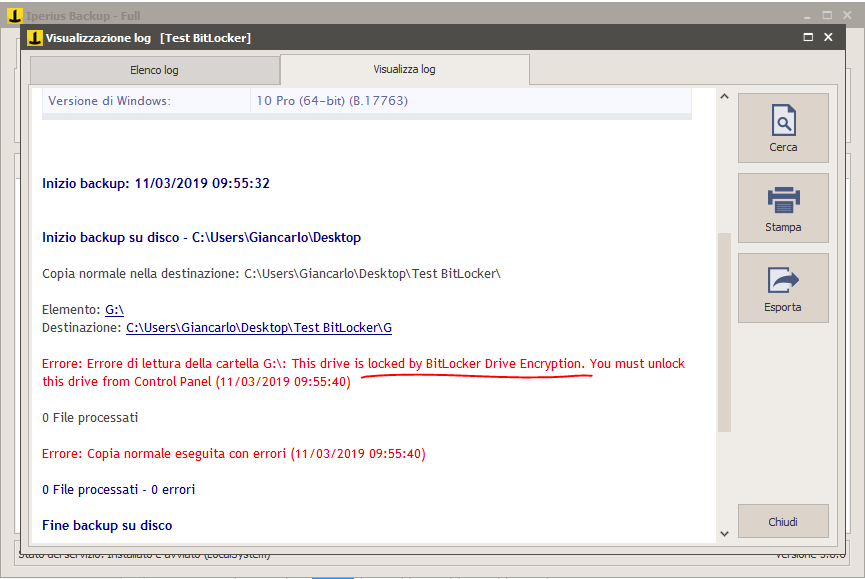
BitLocker protection also prevents backup software, such as Iperius Backup, from copying files from an encrypted disk. If the protection is not disabled, Iperius will return an error in the logs:
Unlocking the drive will allow the backup to complete successfully, but for automatic backups, manual intervention is required. One solution is to run a script before the backup to unlock the disk:
manage-bde -unlock D: -RecoveryPassword YOUR-RECOVERY-KEY
Then, you can create a script to lock the drive after the backup:
manage-bde -lock D:
However, it is evident that leaving a plaintext password in a script is not secure. A better option is to use Drive Image mode.
Drive Image Backup with Iperius for a BitLocker-Protected Drive:
In the case of a Drive Image Backup with Iperius, the backup will succeed whether the drive is locked or unlocked. When mounting the “.vhdx” image, the disk will be restored with encryption active if it was locked, or unlocked if it was originally unlocked:
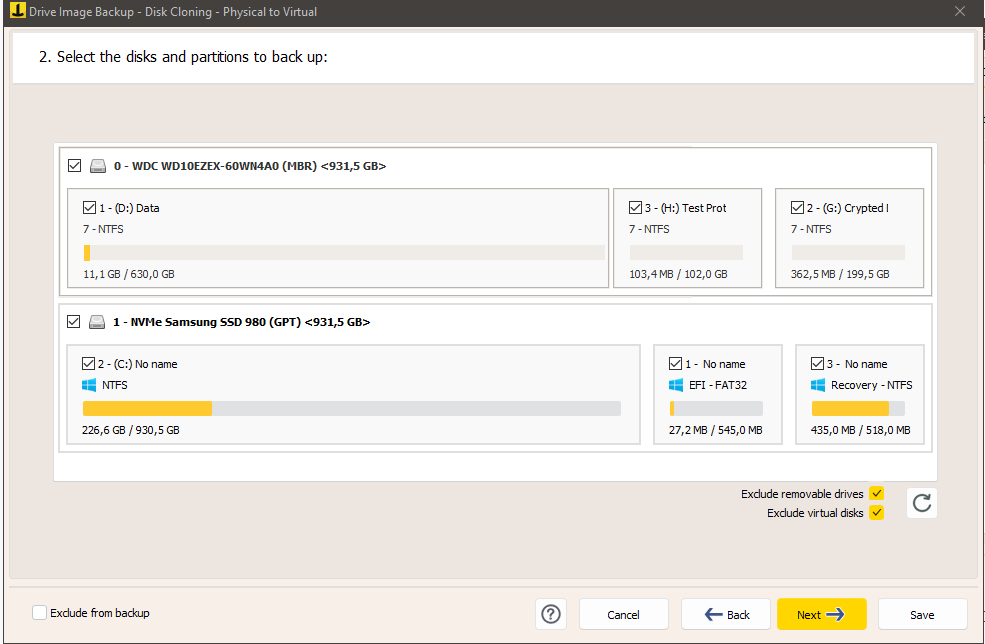
Iperius is therefore an excellent software for cloning BitLocker-protected disks or SSDs. Additionally, it allows restoring an encrypted disk (follow the related guide).
Also see: Drive Image Backup (Disk Image), P2V, and Disk Cloning with Iperius
Even when performing a Windows Drive Image backup (compatible with Windows Backup through wbadmin), the disk will not be encrypted. However, you can ensure its security by saving the VHDX image in an encrypted or otherwise protected path with authentication.
For any questions or doubts regarding this article,
Contact us